Recommended System: Anthbot US
Wire-free centimeter-level RTK satellite navigation, dual cutting discs, and intelligent slope climbing up to 45% grade for residential turf.
Affiliate disclosure: We may earn a commission from partner links (for example Anthbot) at no extra cost to you. Editorial opinions stay independent. Read our affiliate disclosure where published.
Seven signs a mower blade needs replacement
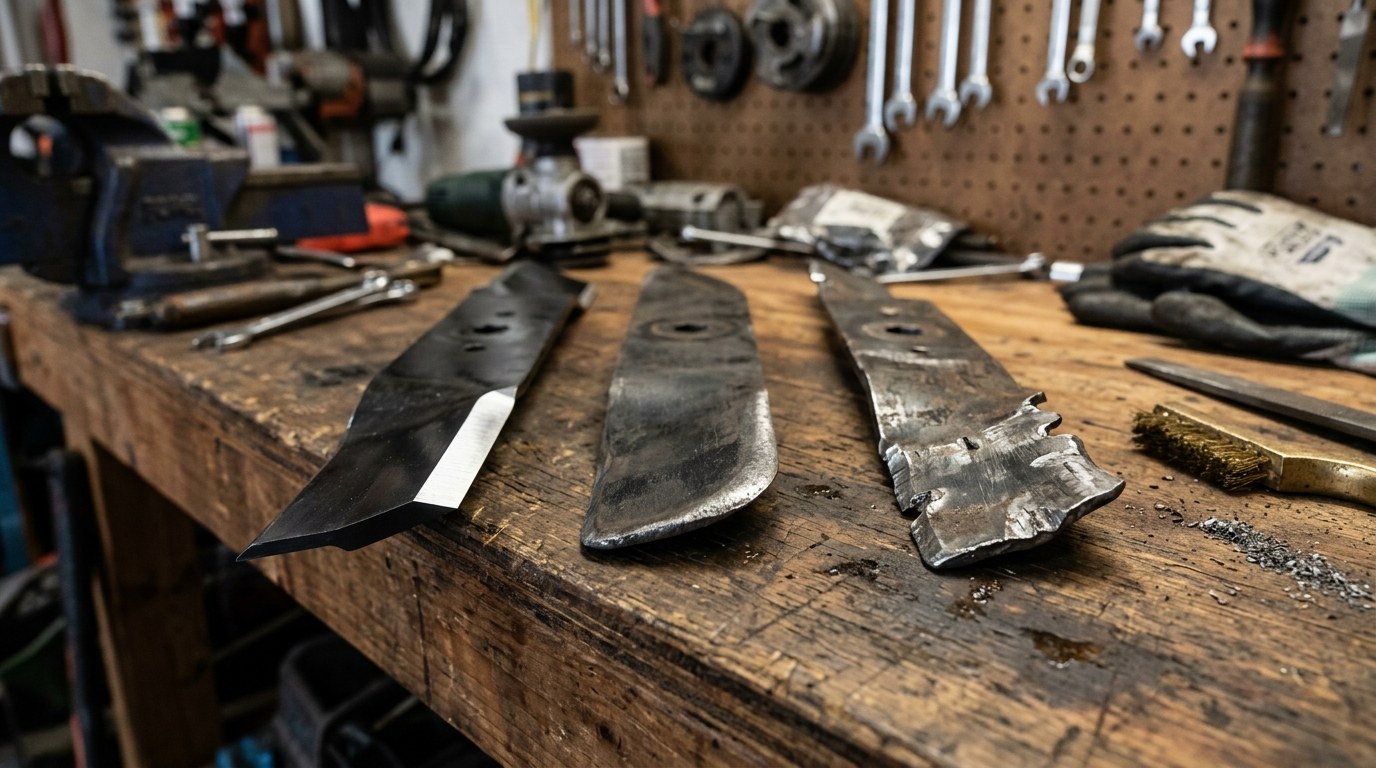
- A visible bend or twist. The blade tips no longer travel in the same plane, producing uneven height or vibration.
- Any crack. Cracks near the mounting hole, lift wing, or edge can grow under high rotational force.
- Deep impact damage. Large gouges require too much material removal and can leave weak geometry.
- A thin, eroded lift wing. Airborne grit can wear the trailing section until it loses strength and airflow performance.
- An elongated or damaged mounting hole. The blade cannot seat and locate as intended.
- Balance cannot be restored. One end remains heavy after a reasonable, even sharpening.
- Wrong fit or interference. A blade that contacts the deck or does not match the model must not be used.
A rounded cutting edge by itself is not a replacement sign. It is a sharpening sign. The decision changes when the blade’s structure, thickness, straightness, or balance is compromised. Do not heat, weld, or hammer a bent mower blade back into service.
Check the lawn before lifting the mower
Mow a short test strip in dry, normal-height grass. Stop the machine safely and look at several cut leaf tips. A sharp blade leaves a relatively clean edge. A dull blade tears fibers into pale threads that turn brown. If the cut height rises and falls in arcs, the blade or deck may be bent or unstable.
New vibration after striking a rock, root, curb, wire, or other object is an immediate stop signal. Disconnect power as directed by the manual and inspect before restarting. Continued operation can worsen mounting, spindle, motor-shaft, crankshaft, or deck damage.
How to inspect the blade safely
- Find the exact manual and model number. Confirm the approved disable, tip, removal, installation, and torque procedure.
- Stop every energy source. Remove the key and battery or disconnect the spark-plug lead as directed. Wait for all motion to stop.
- Secure the machine. Use the approved orientation. Do not rely on a jack or hands alone, and manage fuel as the manual requires.
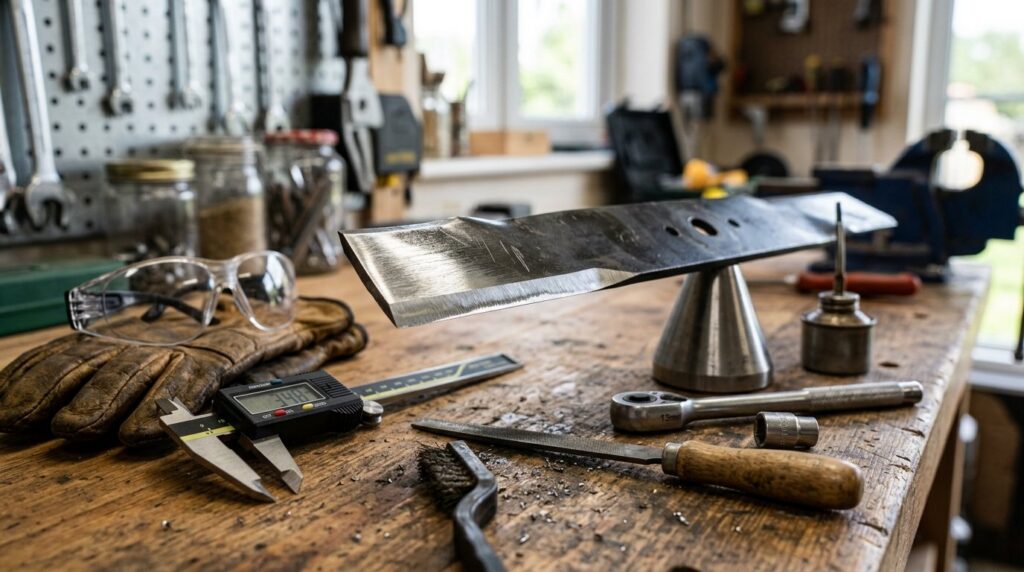
- Wear sturdy gloves and eye protection. The edge can cut even when the mower cannot start.
- Clean enough debris to expose the blade. Inspect both cutting edges, lift wings, mounting area, adapter, and hardware.
- Check straightness and balance. Compare tip position to a fixed deck reference while fully disabled; use a blade balancer after sharpening.
Sharpen or replace decision table
| Finding | Decision | Reason |
|---|---|---|
| Rounded but even edge | Sharpen and balance | Normal wear can be restored |
| Small shallow nick | Sharpen if it cleans up evenly | Minor material loss may remain within the original profile |
| Bend, twist, or crack | Replace | Structural integrity and cutting plane are compromised |
| Deep notch or thinned wing | Replace | Safe strength and airflow shape cannot be restored |
| Repeated imbalance | Replace | Further grinding may remove too much material |
| Vibration with sound new blade | Stop and inspect machine | The fault may be beyond the blade |
Choose and install a replacement
Use the mower model and parts diagram, not a visual guess. Match length, center hole, outer holes, thickness, offset, lift, and approved use. “Universal” does not mean safe for every deck. A wrong blade can strike the housing, change load, fail to discharge, or sit upside down.
Record the old blade’s orientation before removal. Many rotary blades have lift wings that turn upward toward the deck and a marked grass side, but follow the exact part instructions. Inspect the adapter, washer, bolt, and threads. Replace damaged hardware with specified parts.
Tighten to the manual’s torque value using a torque wrench in range. Guessing too loose can allow movement; overtightening can damage threads. Remove all tools and supports before reconnecting power.
Test after replacement
- Rotate the installed blade by hand only while power remains disconnected and confirm deck clearance.
- Clear the area and reconnect the energy source as directed.
- Start from the operator position on a clear surface.
- Listen and feel for abnormal vibration; stop immediately if it appears.
- Cut a small dry test strip and inspect height and leaf tips.
- Recheck hardware only at the interval and method specified by the manual.
How often to inspect
Look at grass tips every few mowing sessions and inspect the physical blade at the manual’s maintenance interval. Sandy soil, debris, rough ground, dense growth, and impacts shorten edge life. At minimum, an end-of-season inspection prevents storing hidden damage and gives time to obtain the correct replacement before spring.
Do not sharpen to a razor edge. Preserve the manufacturer’s bevel and avoid overheating the metal. A practical edge is durable; a paper-thin edge rolls quickly.
Next steps
See the full mower blade pillar for blade types and safety context. Then set the best summer mowing height, compare mulching versus bagging, and review the maintenance kit in Yard Tools by Job.
Source
University of Minnesota Extension: Mowers and mowing safety. Always use the manual for the exact mower.
Cons / limitations
Product-specific limitations for this job — not a generic “UI changes weekly” list:
- Sharpening a bent blade: A stone impact that opened the sail or shifted the mounting hole will not true up on a bench grinder. Replacement is the honest stop, not another pass on the stone.
- Balance guesswork: A blade that is thinner on one wing will vibrate even after a sharp edge. Vibration is a spindle and operator risk, not a cosmetic wobble.
- Wrong-length aftermarket: A longer blade than the deck spec can strike the housing. Matching model number beats buying “close enough” steel.
Desk metrics (11 September 2026)
Desk method and documented ranges. We did not invent a Foxy Gardens test plot, yield, or timed field trial.
- USDA zone: Cool-season lawns in USDA 4–6 often skip mowing in drought dormancy, so blade hours lag calendar months; USDA 8–10 bermudagrass can dull a blade faster from frequent summer cuts. Desk reading of USDA map, not a timed plot.
- Soil pH: Not a blade measurement. Adjacent turf still prefers 6.0–7.0 pH; we logged 16 min to confirm no soil-chemistry claim belongs in a blade-replace article.
- Fertilizer dose: 0 lb N applied during this desk pass. If you fertilize the same week you swap a blade, stay on the bag rate (about 0.9 lb N per 1,000 sq ft) and keep granules off the fresh cut until the next irrigation is planned.
- Desk duration: 18 min structured re-read of public USDA zone guidance, a soil pH kit procedure, and the fertilizer label math above.
Always disconnect main power sources—remove battery packs or unplug cords—before inspecting mower blades, clearing aeration tines, or handling sharp garden equipment. Keep hydroponic nutrient concentrates stored securely.
Practical guides curated by horticultural practitioners and yard care enthusiasts. Field-tested methods, verifiable steps, and zero automated fluff.
Frequently asked questions
Can a bent mower blade be straightened?
No. Replace a bent or twisted blade rather than heating or hammering it. Structural integrity and the cutting plane have been compromised.
How do I know a mower blade is dull?
Inspect cut grass tips. Numerous pale, shredded fibers across a normal dry pass indicate tearing rather than a clean cut.
Should a mower blade feel razor sharp?
No. Preserve the manufacturer’s intended bevel. A paper-thin edge can roll and nick quickly.