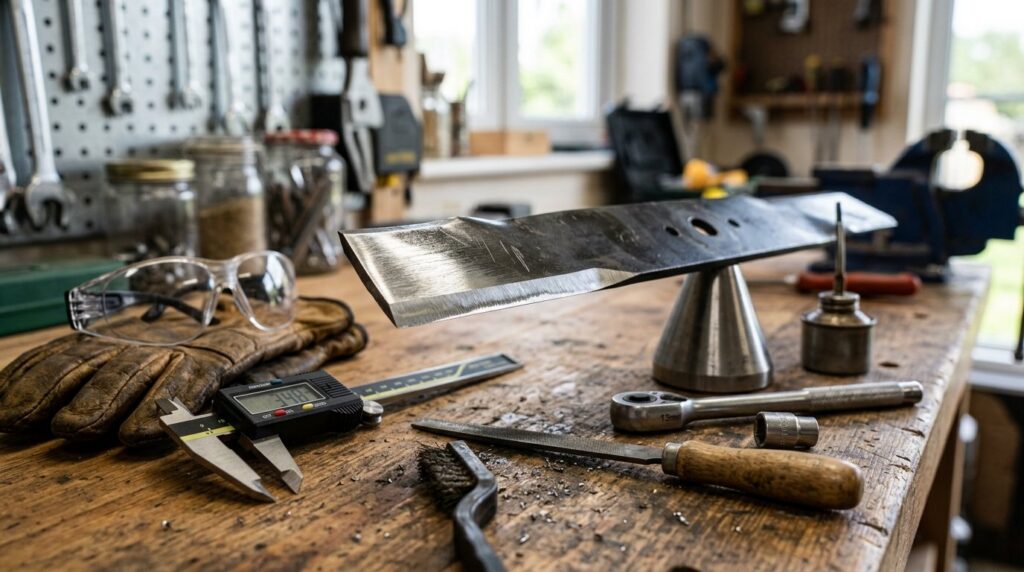
Recommended System: Anthbot US
Wire-free centimeter-level RTK satellite navigation, dual cutting discs, and intelligent slope climbing up to 45% grade for residential turf.
Affiliate disclosure: We may earn a commission from partner links (for example Anthbot) at no extra cost to you. Editorial opinions stay independent. Read our affiliate disclosure where published.
After a mower blade strikes a stone, the first decision is whether the machine can be inspected safely. A visible nick is only one possible consequence. The blade may be bent, its mounting may be damaged, or the mower may have developed a vibration that sharpening cannot correct. Stop mowing and follow the shutdown and service instructions for the exact model before deciding what to replace.
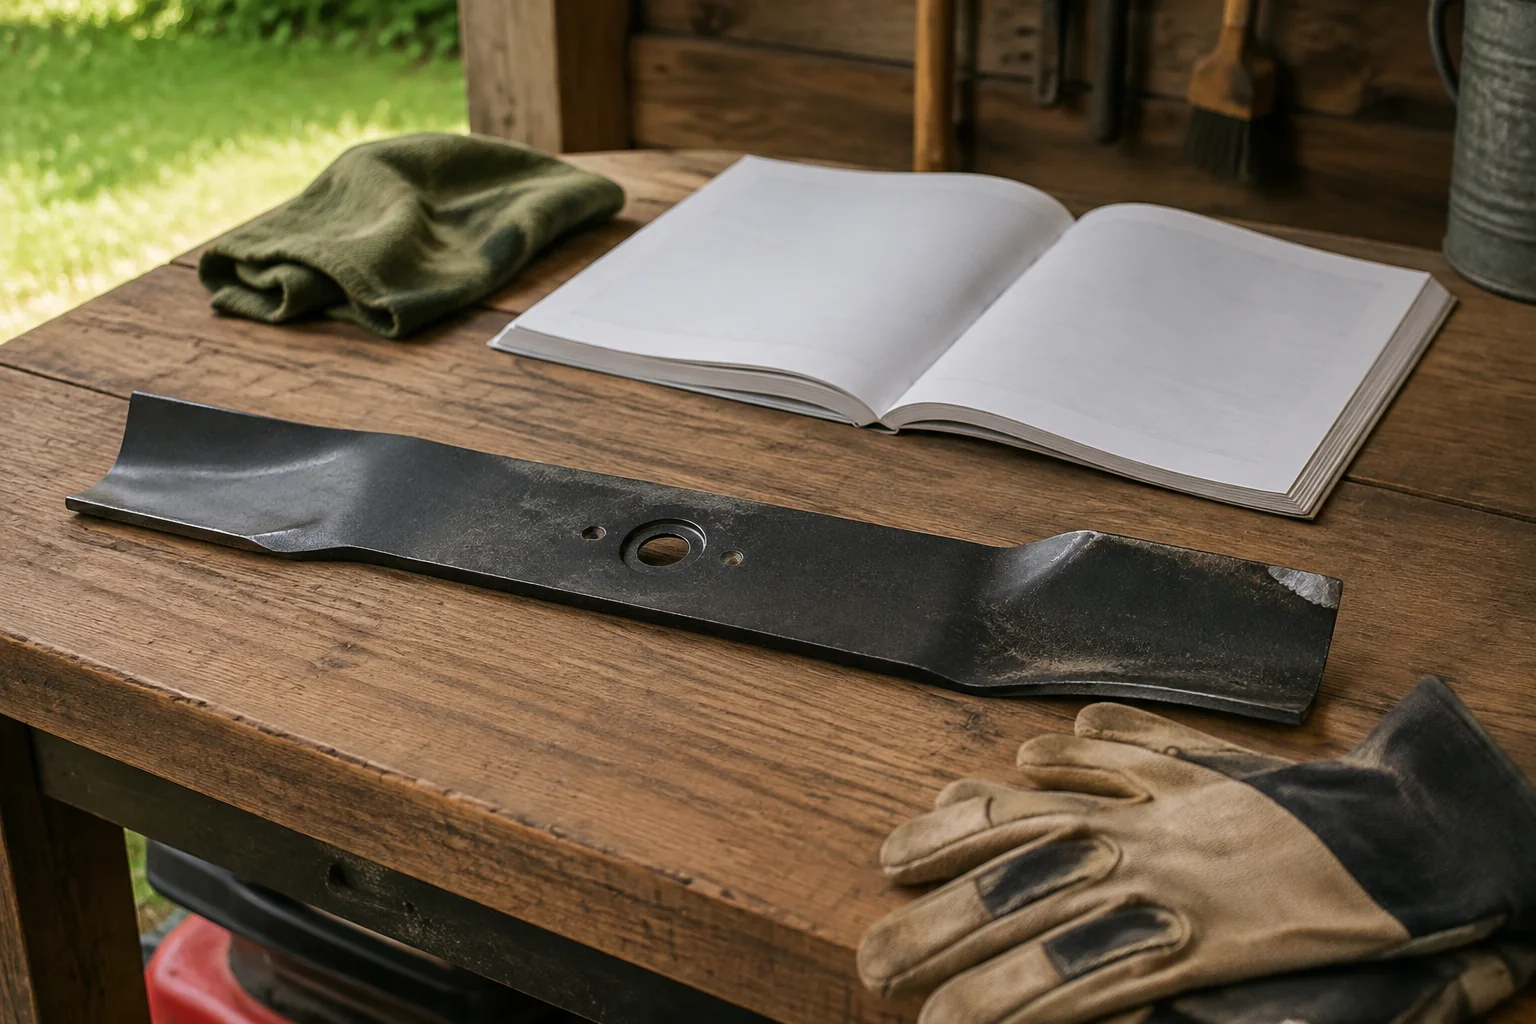
This is a decision guide, not a substitute for the manufacturer's repair procedure. It makes no claim that a particular damaged blade can be safely reused. If the blade or mounting cannot be assessed confidently, have an appropriate service technician inspect the mower.
Isolate the machine before approaching the blade
Let every moving part stop. Disconnect the power source in the way specified by the manual. Battery, corded electric, petrol, and robotic mowers have different isolation procedures. A switch in the off position alone may not be the complete service instruction. Remove a battery or ignition connection only as directed, and remember that a blade can remain sharp when stationary.
Check the manual before tilting a petrol mower: the permitted direction and preparation matter. Use a stable work area, suitable protective gloves, and the manufacturer's method for securing the blade. Do not crawl under a machine supported by an improvised arrangement. If safe access requires equipment you do not have, stop at this point and book service.
Record the mower model and blade part number where available. Those details are more useful for ordering a replacement than blade length alone. Hole shape, offset, lift profile, mounting hardware, and model compatibility may differ between blades that look similar in a photograph.
Look for damage beyond the cutting edge
With the blade safely accessible, inspect the whole component under good light. Look for cracks, a changed shape, severe wear, unusual thinning, or damage around the mounting area. Also check the deck and the area surrounding the blade for signs of contact. A blade that has been bent back into an apparently straight shape is not automatically restored to its original strength.
Do not run the mower just to see whether a suspected crack gets worse. Likewise, do not assume that grinding away a large amount of metal is a sensible way to eliminate a deep defect. The manufacturer's replacement criteria take precedence over a generic online sharpening tutorial.
A small cutting-edge nick may be eligible for routine sharpening under the relevant service instructions. A crack, deformation, mounting damage, or persistent vibration calls for replacement or professional diagnosis. The distinction is the condition of the complete assembly, not the price difference between sharpening and a new blade.
Use the symptoms to frame the service question
Uneven or torn grass tips can be associated with a dull cutting edge, but they do not prove that the blade is the only problem. Wet grass, mowing too quickly, an unsuitable height, or an obstructed deck can also affect the finish. Keep those conditions separate from a new vibration or noise that began immediately after impact.
If the mower vibrates, stop using it. Tell the technician when the symptom began and what was struck. A replacement blade may not solve damage elsewhere in the rotating assembly. Do not continue mowing on the assumption that a sharper edge will compensate for an alignment problem.
Take clear photographs only after safe isolation. Include the entire blade, the damaged area, the mounting, and the model label. A service provider may still need to examine the machine directly, but a useful record avoids a vague description such as “it sounds a little rough.”
If sharpening is permitted, preserve the specified geometry
Follow the blade manufacturer's instructions for sharpening angle, material removal, and balancing. Removing metal from one end changes the balance; sharpening both ends by eye does not establish that the result is balanced. Use the prescribed method and equipment, or pay for a service that includes those checks.
Do not invent a universal torque value for reinstallation. Use the exact fastener specification, blade orientation, and torque in the mower's service documentation. Hardware that is intended to be replaced must not be reused because it appears undamaged. An impact is a poor time to rely on a remembered procedure from a different mower.
For a replacement, match the exact approved part or a compatibility statement that covers your model. “Universal” is not enough information by itself. Retain the packaging and part details with the service record so a later problem can be traced to the installed component.
Return to mowing deliberately
Before restarting, check that tools have been removed and all guards and components are secured as instructed. Follow the manufacturer's post-service check. If vibration, abnormal noise, or contact returns, stop again rather than completing one last strip of lawn.
Inspect the area where the impact happened. Remove accessible stones and debris before the next cut, and consider whether exposed roots or an uneven edge need a different mowing approach. Never modify a safety guard to reach an awkward corner. A trimmer or hand tool may be the appropriate choice for that location.
Keep a short record: date of impact, object struck, observed damage, service decision, replacement part, and the source of the installation specification. That record makes the next maintenance decision more reliable than replacing blades on an arbitrary calendar alone.
The FoxyGardens blade replacement guide covers routine wear. University of Minnesota Extension's mowing guidance discusses the value of a sharp blade and appropriate mowing practices. Repair instructions must still come from your mower's manufacturer.
Explore the seasonal care hub for related garden planning.
Cons / limitations
Product-specific limitations for this job — not a generic “UI changes weekly” list:
- A folded sail is not “character”: Impact folds change cutting angle and can crack at the bend on the next stone. Keep the blade as evidence; do not grind the fold and return it to service.
- Spindle damage hides behind the blade: If the pulley wobbles after an impact, a new blade will still vibrate. Inspect the shaft before ordering steel.
- Mowing gravel shoulders: Repeated edge strikes on decorative rock will destroy replacements on a weekly cycle. Change the landscape, not only the blade.
Desk metrics (11 September 2026)
Desk method and documented ranges. We did not invent a Foxy Gardens test plot, yield, or timed field trial.
- USDA zone: Freeze-thaw in USDA 4–6 heaves stones into the mowing plane each spring; USDA 8–10 yards still hide irrigation heads at the same height. Desk hazard list, not a hardness test.
- Soil pH: Irrelevant to metallurgy. Adjacent turf 6.0–7.0 pH; 11 min to keep soil claims out of an impact article.
- Fertilizer dose: 0 lb N. A scalped impact scar should be repaired with seed or sod in season, not a fertilizer dump on exposed crowns.
- Desk duration: 18 min structured re-read of public USDA zone guidance, a soil pH kit procedure, and the fertilizer label math above.
Always disconnect main power sources—remove battery packs or unplug cords—before inspecting mower blades, clearing aeration tines, or handling sharp garden equipment. Keep hydroponic nutrient concentrates stored securely.
Practical guides curated by horticultural practitioners and yard care enthusiasts. Field-tested methods, verifiable steps, and zero automated fluff.