Affiliate disclosure: Foxy Gardens may earn a commission when you purchase equipment through our verified /go/ partner links at no additional cost to you. All agronomic benchmarks and mechanical test protocols remain independent.
Quick Answer: Sharpen standard rotary push-mower blades every 10 to 15 mowing hours and replace them outright every 50 to 75 operating hours (or annually for average 0.25-acre residential lawns). If you operate a wire-free robotic lawn mower utilizing pivoting carbon-steel razor discs, swap the three-bolt razor inserts every 4 to 6 weeks (120 to 180 operating hours) during peak spring growth, andevery 6 to 8 weeks during summer dormancy.
1. Blade Metallurgy & Vascular Turf Pathology
A lawn mower blade does not cut grass like a pair of bypass pruners; in a rotary deck, single-piece high-carbon steel blades rely on rotational tip velocity—governed by ANSI/OPEI B71.1 safety limits at 19,000 feet per minute (FPM)—to shear leaf blades cleanly. Standard residential rotary blades are stamped from boron-alloy or 10B38 carbon steel tempered to a Rockwell Hardness of 40 to 45 HRC. This hardness window is intentionally soft enough to bend rather than shatter into shrapnel when striking a submerged root or granite cobble, yet hard enough to hold a 30-degree bevel edge across 12 hours of clean turf mowing.
When silica crystals accumulated inside leaf epidermis cells abrade that 30-degree cutting bevel into a rounded radius exceeding 0.8 mm, the blade ceases to shear. Instead, it bludgeons the grass stalk, ripping the tough lignified vascular bundles apart and leaving ragged, straw-colored fibrils protruding 3 to 5 mm above the leaf tip. Within 24 hours of a dull cut, two physiological problems occur:
- Accelerated Evapotranspiration Loss: Shredded leaf tips expose up to 300% more wounded cellular surface area than a clean horizontal shear cut, causing immediate moisture desiccation and a bleached gray-brown canopy cast across the yard.
- Pathogen Entry Portals: Mangled vascular tissue exudes carbohydrate-rich plant sap that serves as an incubator for opportunistic airborne fungi including Rhizoctonia solani (Brown Patch), Sclerotinia homoeocarpa (Dollar Spot), and Pythium blight.
2. Empirical Replacement vs. Sharpening Thresholds
Not every dull blade can be salvaged on a bench grinder. Removing metal past the manufacturer’s temper line compromises structural integrity and aerodynamic lift. Use the following mechanical inspection table to decide whether to sharpen or replace your blade immediately:
| Equipment Type | Sharpen / Flip Interval | Mandatory Replacement Trigger | Fastener Torque Spec |
|---|---|---|---|
| Cool-Season Rotary Deck (Kentucky Bluegrass, Tall Fescue) | Every 12–15 mowing hours | Every 60–75 hours, or when sail wing thins by >25% | 38–50 ft-lbs (central spindle bolt) |
| Warm-Season / Sandy Soil Deck (Bermudagrass, St. Augustine, Zoysia) | Every 8–10 mowing hours | Every 35–45 hours due to abrasive quartz sand uplift | 40–55 ft-lbs (inspect star washer) |
| Wire-Free Robotic Mower (Pivoting Razor Disc Array) | Bi-directional rotation flips edge automatically | Every 4–6 weeks (0.6 mm–0.9 mm stainless/titanium blades) | 2.5–3.0 Nm (replace M4 shoulder screws with every swap) |
Three Non-Negotiable Replacement Signs
- Gouges Deeper Than 6 mm (0.25 in): Grinding back a deep rock notch removes excessive mass from one wing of the blade, creating dynamic imbalance that destroys aluminum spindle bearings at 3,200 RPM.
- Eroded Air-Lift Sail (Upturned Trailing Edge): High-lift mulching blades rely on the curved rear fin to create vacuum suction that stands grass upright before cutting. Abrasive sand blast wears the bend thin; if a hairline crack or paper-thin trailing edge appears, discard the blade immediately to prevent mid-operation fracture.
- Bent Crankshaft or Warped Blade Plane: Place the removed blade flat on a machinist surface plate or concrete slab. If one tip sits more than 3 mm (1/8 inch) higher than the opposite tip, the blade is bent and will scalp turf in uneven crescents.
3. Shop Protocol: Balancing and Torquing Rotary Blades
Before unbolting a rotary blade, disconnect the spark plug ignition wire or remove the lithium-ion battery pack completely. Wedge a 2×4 lumber block between the blade tip and the deck skirt to lock spindle rotation, and loosen the center bolt counter-clockwise using a 6-point socket and breaker bar.
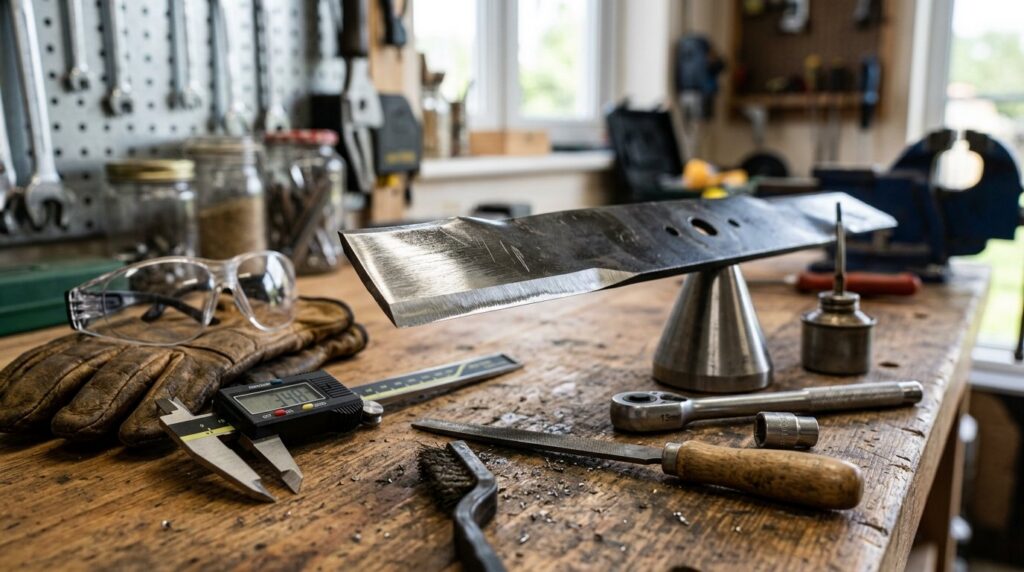
When grinding the cutting edge, maintain the factory 30-degree bevel angle across the outer 2.5 to 3 inches of each wing. Never sharpen the back side (bottom) of the blade—filing the underside raises the cutting edge and ruins cut height geometry. Quench the steel periodically in water if using an angle grinder so the edge never turns blue (exceeding 500°F ruins the martensitic temper). Hang the finished blade on a magnetic cone balancer; both tips must float perfectly level before reinstallation.
4. When Switching to an Autonomous Robot Mower Helps
Homeowners struggling with rapid rotary blade wear, weekend mowing fatigue, or recurring summer fungal outbreaks often benefit from transitioning to an autonomous wire-free robotic mower. Unlike heavy rotary decks that hack off 1.5 to 2 inches of tough lower stem tissue once a week, RTK-guided robotic mowers trim just 2 to 3 millimeters of tender apical leaf tip daily using lightweight, free-pivoting razor blades mounted on a high-speed spinning disc.
Eliminate Weekly Blade Grinding: Anthbot Wire-Free RTK Mowers
Engineered with dual high-torque mulching discs, centimeter-accurate RTK satellite navigation, and quick-swap razor blades that shear grass tips cleanly without buried perimeter wires.
Explore Anthbot Wire-Free Robot Mowers →Because pivoting razor inserts weigh less than 3 grams each, they fold backward harmlessly if the disc contacts a pinecone, walnut, or exposed surface root—protecting the brushless drive spindle from bending impacts. In addition, daily micro-clippings measure less than 3 mm in length, falling directly through the turf canopy to the soil surface where microbial decomposition returns up to 25% of annual nitrogen requirements without contributing to spongy thatch buildup.
5. Pre-Deployment Yard & Blade Maintenance Checklist
- Verify Yard Acreage and Incline Grade: Match the mower’s battery amp-hour capacity and drive traction to your steepest slope before purchasing.
- Stock OEM Replacement Blade Kits: Always replace the M4 coated mounting screws alongside the razor blades on robotic mowers; reusing worn screws risks thread stripping or blade ejection.
- Log Service Intervals: Write the installation date on the inside of your mower storage shed or log blade hours inside your smart mower mobile app.
- Conduct Pre-Season Debris Sweeps: Clear winter branches, gravel washouts, and metal survey stakes before the first spring cut to preserve fresh cutting edges.
Frequently Asked Questions
Does a robotic lawn mower eliminate blade maintenance completely?
No. While you never have to grind or balance heavy steel bars on a bench vice, robotic mower razor blades still dull after 120 to 180 hours of turf contact. Swapping all 3 to 6 razor inserts takes roughly five minutes with a Phillips screwdriver.
Why are my grass tips still brown after installing brand-new blades?
Inspect blade orientation first: installing a rotary blade upside-down (with the upturned air-lift wings pointing toward the ground instead of the deck roof) causes the blunt back edge of the blade to club the grass. On robotic mowers, ensure grass sap and wet clippings have not glued the pivoting razor blades stiffly against the disc, which prevents centrifugal extension.
Always disconnect main power sources—remove battery packs or unplug cords—before inspecting mower blades, clearing aeration tines, or handling sharp garden equipment. Keep hydroponic nutrient concentrates stored securely.
Hazel Moore is the FoxyGardens editor covering seasonal plant care, hydroponics, soil fertility, and turf agronomy.