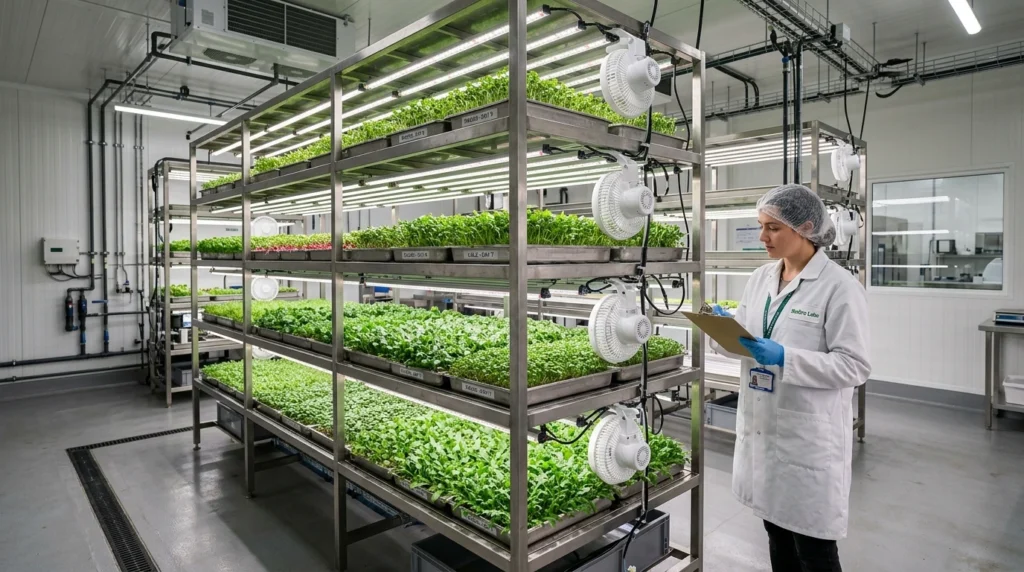
Recommended System: Commercial Microgreen Gear
Commercial BPA-free shallow propagation trays and full-spectrum LED rack systems for high-yield mold-free microgreens.
Primary causes of fungal mold, Pythium, and damping-off
Microgreen production represents a unique ecological environment: thousands of young, tender seedlings growing in ultra-dense configurations within warm, humid, enclosed indoor spaces. Under optimal conditions, this density produces lush, high-yielding trays of living greens. However, the identical environmental conditions that support rapid seedling vigor can also foster destructive fungal and oomycete pathogens, primarily Pythium ultimum (damping-off), Botrytis cinerea (gray mold), Rhizopus stolonifer, and Mucor species.
Fungal outbreaks rarely occur by random accident; they almost universally stem from five identifiable cultural errors:
- Contaminated Equipment: Reusing propagation trays, domes, or watering reservoirs without thorough chemical sanitization between crop cycles carries fungal spores and bacterial biofilms directly into freshly seeded flats.
- Excessive Seeding Density: Sowing too many seeds per square inch creates an impenetrable stem canopy that halts air movement around root crowns, trapping stagnant transpiration humidity.
- Overhead Watering: Spraying water directly over standing seedlings after the blackout phase leaves moisture trapped on leaves and un-shed seed hulls, providing free water for spore germination.
- Elevated Ambient Humidity: Allowing grow room relative humidity (RH) to rise above 60% drastically slows natural plant transpiration, weakening stem vascular walls and accelerating pathogen colonization.
- Stagnant Boundary Layers: Inadequate airflow allows a humid micro-climate boundary layer to accumulate directly around the base of stems, even if room-level humidity gauges appear acceptable.
Tray sanitization protocol: 3% food-grade hydrogen peroxide vs. bleach
Clean harvests begin with surgically clean equipment. Every propagation tray, blackout lid, reservoir flat, harvesting knife, and workbench surface must be cleaned and sanitized between every single planting run.
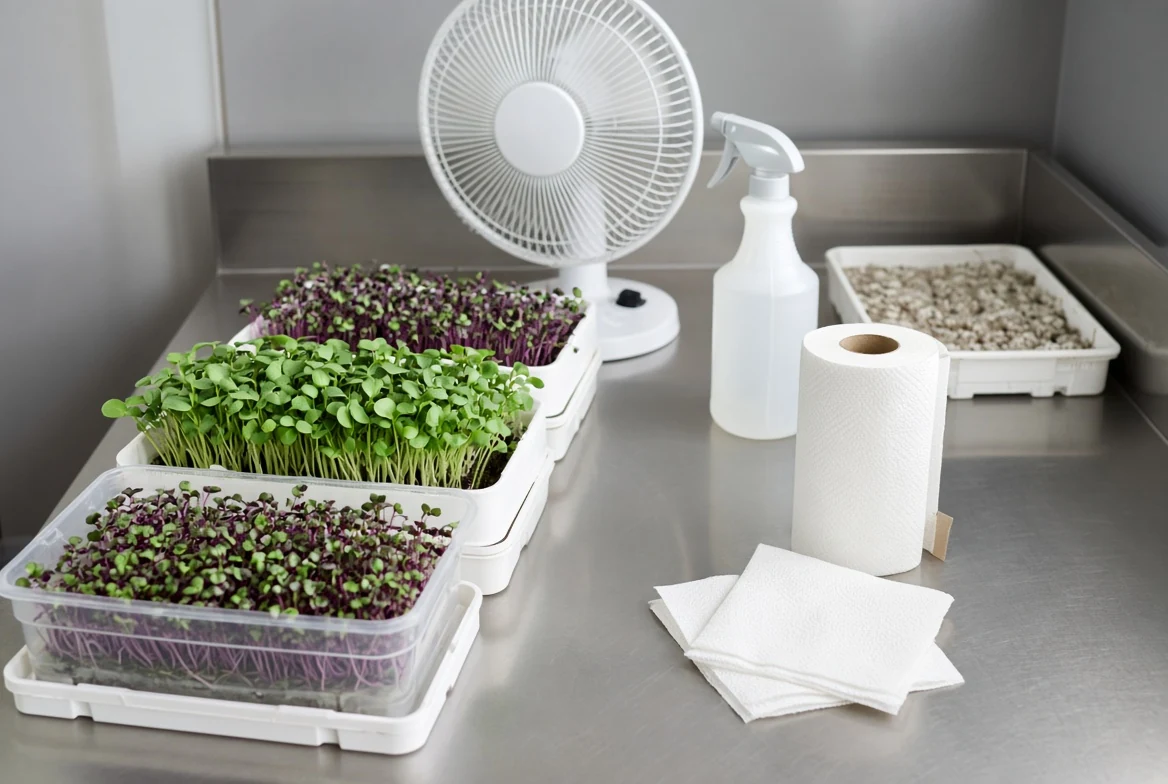
While standard household chlorine bleach (sodium hypochlorite) is a common disinfectant, it releases toxic chloramine fumes in enclosed grow spaces, corrodes stainless steel tools, leaves chemical residues, and requires extensive rinsing. Modern organic microgreens operations rely instead on food-grade hydrogen peroxide (H₂O₂) or peracetic acid formulations (such as Sanidate 5.0):
| Sanitizing agent | Working concentration | Contact time required | Rinsing required? | Residue breakdown products |
|---|---|---|---|---|
| Food-Grade Hydrogen Peroxide | 3% aqueous solution | 10 minutes | No (air dry) | Water (H₂O) and Oxygen (O₂) |
| Peracetic Acid (Sanidate) | 0.5% diluted bath | 2 to 5 minutes | Optional | Acetic acid, water, oxygen |
| Household Chlorine Bleach | 1:10 water dilution | 10 minutes | Yes (thoroughly) | Sodium salts, chlorine residues |
| Isopropyl Alcohol | 70% solution | 1 minute | No (for metal tools) | Evaporates cleanly |
To sanitize trays: First, scrub all residual soil, root fibers, and organic matter from used trays with warm water and biodegradable soap. Rinse cleanly. Submerge or thoroughly spray all plastic surfaces with a 3% food-grade hydrogen peroxide solution, ensuring complete surface wetting for at least 10 minutes. Allow the trays to dry completely on wire utility racks before reuse. As peroxide decomposes, it leaves only pure water and oxygen, posing zero risk to organic seedlings or human health.
Environmental controls: 40-50% RH and 0.5 m/s horizontal airflow
Pathogenic mold spores exist ubiquitously in air and municipal water supplies; however, spores cannot germinate and penetrate plant tissue without continuous surface moisture and stagnant air. Regulating room climate is your primary defense line.
- Target Temperature: Maintain grow space temperatures strictly between 20°C and 22°C (68°F to 72°F). Temperatures above 24°C (75°F) dramatically accelerate fungal reproduction rates while causing microgreens to stretch, become spindly, and deplete root oxygen.
- Relative Humidity (RH): Keep relative humidity between 40% and 50% using a commercial-grade dehumidifier. If room humidity exceeds 60%, spore germination rates increase four-fold, particularly in dense sunflower and pea crops.
- Continuous Horizontal Airflow: Install oscillating clip fans or multi-tier inline airflow systems on every shelf tier. Target a gentle, continuous air velocity of 0.5 meters per second (approximately 1.1 mph) directly across the plant canopy. The air should cause leaves to flutter gently without desiccating tender tissue. This constant circulation disperses moisture transpiration cones, thickens stem cell walls, and prevents condensation.
Seeding density management: preventing overcrowded micro-climates
Over-seeding represents the single most common cause of crop loss for beginner growers. Striving for maximum harvest weight by packing excess seeds into a single flat inevitably backfires by restricting air passage and choking root zones.
Adhere strictly to verified dry seed weight baselines per standard 1020 tray (10 inches by 20 inches):
- Black Oil Sunflower: 100 to 125 grams (pre-soaked 8 to 12 hours, germinated under 1kg weight for 3 to 4 days).
- Speckled Peas: 200 to 250 grams (pre-soaked 8 to 12 hours, weighted blackout for 3 to 4 days).
- Radish (Rambo/China Rose/Daikon): 25 to 30 grams (no pre-soak, weighted blackout for 3 days).
- Brassica Mix / Broccoli / Kale: 20 to 25 grams (no pre-soak, weighted blackout for 3 days).
- Arugula / Mustard: 18 to 22 grams (no pre-soak, shallow blackout for 2 to 3 days).
Maintaining these seed rates ensures that each stem has sufficient physical space to breathe and access photon energy once exposed to the grow lights.
Capillary bottom-watering: keeping aerial foliage and hulls dry
During the initial blackout phase under weight (day 1 through day 3 or 4), light surface misting is acceptable because seedlings are anchoring roots and softening seed hulls. However, the moment trays are uncovered and moved beneath LED lighting bars, all overhead watering must stop immediately.
Transition entirely to capillary bottom-watering:
- The Double-Tray System: Sow your microgreens in a 1020 tray with bottom drainage holes. Set this growing flat directly inside an identical 1020 tray with solid, hole-free construction.
- Controlled Reservoir Filling: Lift the edge of the perforated grow tray and pour 500 to 750 ml of room-temperature water directly into the bottom tray. For optimal mineral uptake, ensure water pH is balanced between 6.0 and 6.5.
- Capillary Absorption Time: Allow the media (soil or coco coir) to draw water upward through the drainage slits for 15 to 20 minutes. Capillary action thoroughly hydrates the lower root zone while leaving the upper 0.5 inch of soil and the entire stem canopy completely dry.
- Evacuate Excess Water: Lift the upper tray and dump out any leftover standing water from the reservoir. Roots must have access to atmospheric oxygen in the root zone; leaving trays resting in standing pools causes anaerobic root suffocation, root death, and rapid Pythium infestation.
Active mold remediation: spot treatment without crop loss
If you detect an early localized patch of cobweb mold (a thin, gray-white fibrous fuzz climbing up several stems), immediate intervention can save the remainder of the tray:
- Spot Application of 3% H₂O₂: Fill a clean spray bottle with undiluted 3% food-grade hydrogen peroxide. Set the nozzle to a direct, narrow stream. Spray the affected mold patch directly at the base of the infected stems. You will observe immediate bubbling and fizzing as the peroxide oxidizes the fungal cell walls into harmless water and oxygen gas.
- Increase Air Circulation: Direct an oscillating fan toward the treated tray to accelerate surface drying.
- Reduce Ambient Humidity: Ensure your dehumidifier runs continuously to pull room humidity down to 45%.
- Cull Severe Infestations: If a mold patch spans wider than 3 inches in diameter and seedlings have collapsed into a soggy brown mat (damping off), use clean harvest shears to cut out and discard that entire soil section. Do not risk allowing the fungal colony to sporulate and contaminate adjacent flats across your rack.
Daily commercial grow rack inspection checklist
Disciplined growers conduct a systematic 2-minute audit of their grow rack twice daily to identify potential issues before pathogens spread:
- Visual Canopy Scan: Check for uniform green coloration across all trays under LED lights. Any sunken, discolored, or collapsed circles indicate early damping-off.
- Olfactory Check: A healthy microgreen rack smells crisp, earthy, and fresh. Any sour, vinegar, fermented, or stagnant odors signal trapped standing water or anaerobic root rot.
- Substrate Weight Lift: Gently lift each tray corner with two fingers. A light tray requires bottom watering; a heavy tray retains adequate moisture and must not be watered.
- Airflow Verification: Observe seedling tops across all shelf levels. Cotyledons should show faint, gentle movement confirming active air circulation.
- Lighting Audit: Confirm automated timers are operating correctly, delivering a consistent Daily Light Integral (DLI) of 14 to 16 mol/m²/d over a 14 to 16-hour photoperiod.
Recommended airflow and environmental control hardware
Professional sanitation and pathogen control require dependable ventilation equipment, industrial dehumidification, and heavy-duty propagation flats.
Airflow & Controls Spec
Commercial-grade oscillating EC motor clip fans paired with digital humidity controllers maintain constant 0.5 m/s canopy airflow, completely eliminating stagnant micro-climates and fungal damping-off.
Deepen your indoor agronomic knowledge by exploring our related guides: follow step-by-step growing protocols in our sunflower microgreens complete grow guide, master fast brassica harvests in our radish microgreens blackout and lighting protocol, and manage water chemistry in how to manage pH and nutrients in home hydroponics. Visit the main microgreens cultivation pillar for complete system architectures, and consult our tools hub for digital hygrometers and sanitation supplies.
Always disconnect main power sources—remove battery packs or unplug cords—before inspecting mower blades, clearing aeration tines, or handling sharp garden equipment. Keep hydroponic nutrient concentrates stored securely.
Practical guides curated by horticultural practitioners and yard care enthusiasts. Field-tested methods, verifiable steps, and zero automated fluff.
Frequently asked questions
How do I safely treat active mold on microgreen stems?
Spray active mold patches lightly with a 3% food-grade hydrogen peroxide solution (undiluted or mixed 50/50 with water). Peroxide oxidizes fungal spores into water and oxygen without leaving chemical residues on edible greens.
What ambient humidity and temperature prevent fungal damping-off?
Maintain grow room temperatures between 20°C and 22°C (68°F to 72°F) and relative humidity between 40% and 50%. Relative humidity exceeding 60% drastically increases damp-off risk, particularly in dense sunflower and pea crops.
Why is bottom-watering essential for mold prevention?
Top-watering leaves water droplets trapped among dense stems and unharvested seed hulls, creating stagnant humid pockets where mold thrives. Bottom-watering saturates the root zone via capillary action while keeping the aerial foliage dry.