Recommended System: Anthbot US
Wire-free centimeter-level RTK satellite navigation, dual cutting discs, and intelligent slope climbing up to 45% grade for residential turf.
Affiliate disclosure: We may earn a commission from partner links (for example Anthbot) at no extra cost to you. Editorial opinions stay independent. Read our affiliate disclosure where published.
Autumn brings cooler mornings, slower grass growth, and a lawn covered with fallen leaves and grass clippings. For homeowners, September and October are critical months that dictate how green and resilient your turf will emerge next spring.
Gardening Disclosure: Independent horticultural advice. We test tools and methods under realistic home lawn conditions and follow university agricultural extension standards.
1. Mulch or Bag Grass Clippings in Autumn?
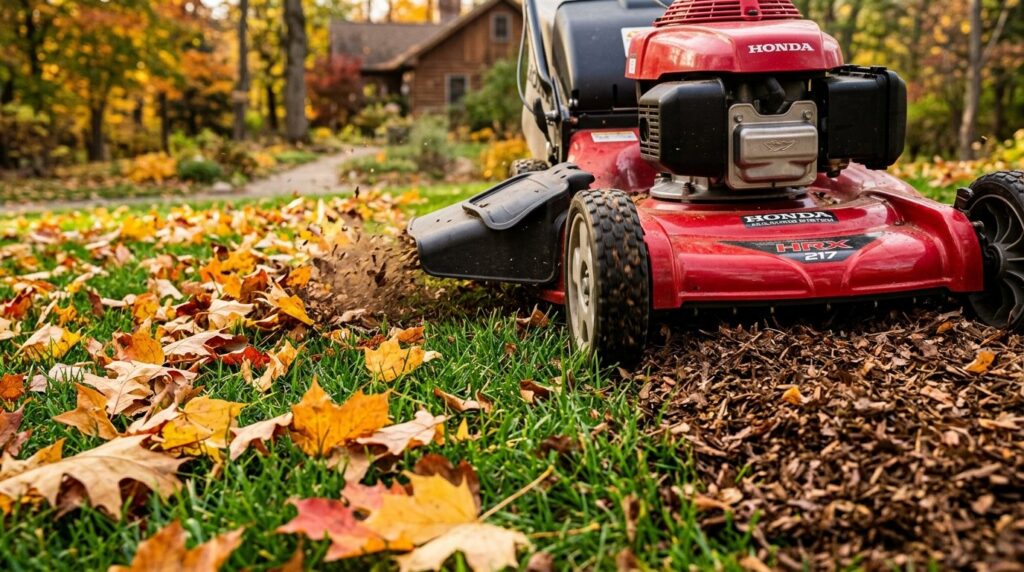
One of the most persistent seasonal lawn debates is whether you should bag your autumn clippings or mulch them back into the lawn. The science-backed answer depends entirely on moisture levels and leaf density:
- When to Mulch (The Default Recommendation): If grass clippings are dry and fallen leaves cover less than 50% of the turf surface, mulching is far superior to bagging. Mowing with sharp mulching blades shreds the grass and leaves into tiny confetti-sized particles that settle between the grass crowns down to the soil surface. Soil microbes, earthworms, and fungi rapidly break these particles down, returning up to 25% of your lawn’s seasonal nitrogen requirements for free, while adding precious organic carbon.
- When to Bag: You should bag clippings in autumn only if:
- The lawn has suffered a fungal disease outbreak (such as dollar spot, brown patch, or rust) that would spread spores across the turf.
- Leaves have formed a wet, continuous, matte blanket thicker than two inches. Wet, compacted leaves will clog standard mower decks and create an anaerobic layer that suffocates grass crowns over winter.
- You are preparing the lawn for precision autumn overseeding, where direct seed-to-soil contact is necessary.
2. 4 Unmistakable Signs Your Mower Blades Must Be Sharpened or Replaced
Mowing with dull or damaged mower blades in autumn is one of the quickest ways to ruin a lawn before winter dormancy. A dull blade does not slice grass cleanly—it tears, rips, and shreds the leaf tissue. Watch for these four unmistakable symptoms:
- Brown, Frayed Tips (White Cast Across the Lawn): Within 24 to 48 hours after mowing, inspect the tips of your grass blades up close. If the top edge looks shredded, jagged, or stringy like frayed rope rather than a crisp straight cut, your blade is severely dull. The shredded tissue dries out into a dull brownish-white haze across your entire yard.
- Increased Fungal Vulnerability: Clean cuts heal within 24 hours. Jagged, torn grass blades remain open wounds for up to five days, allowing cold-season fungal pathogens (like snow mold) direct access into the vascular system of the plant.
- Engine Drag and Uneven Windrows: If your mower engine is bogging down on dry, moderate-height grass or leaving uneven clumps of clippings along one wheel track, the blade has lost its lift sails and cannot generate sufficient vacuum to discharge clippings.
- Visible Nicks, Bends, or Dents: Remove the spark plug wire, tilt the mower up with the carburetor facing skyward, and inspect the blade. If the cutting edge has deep gouges from stones or roots, or if the blade is bent out of true, it cannot be safely balanced and must be replaced immediately.
3. Transitioning Indoors: Beginner Hydroponics for Autumn & Winter
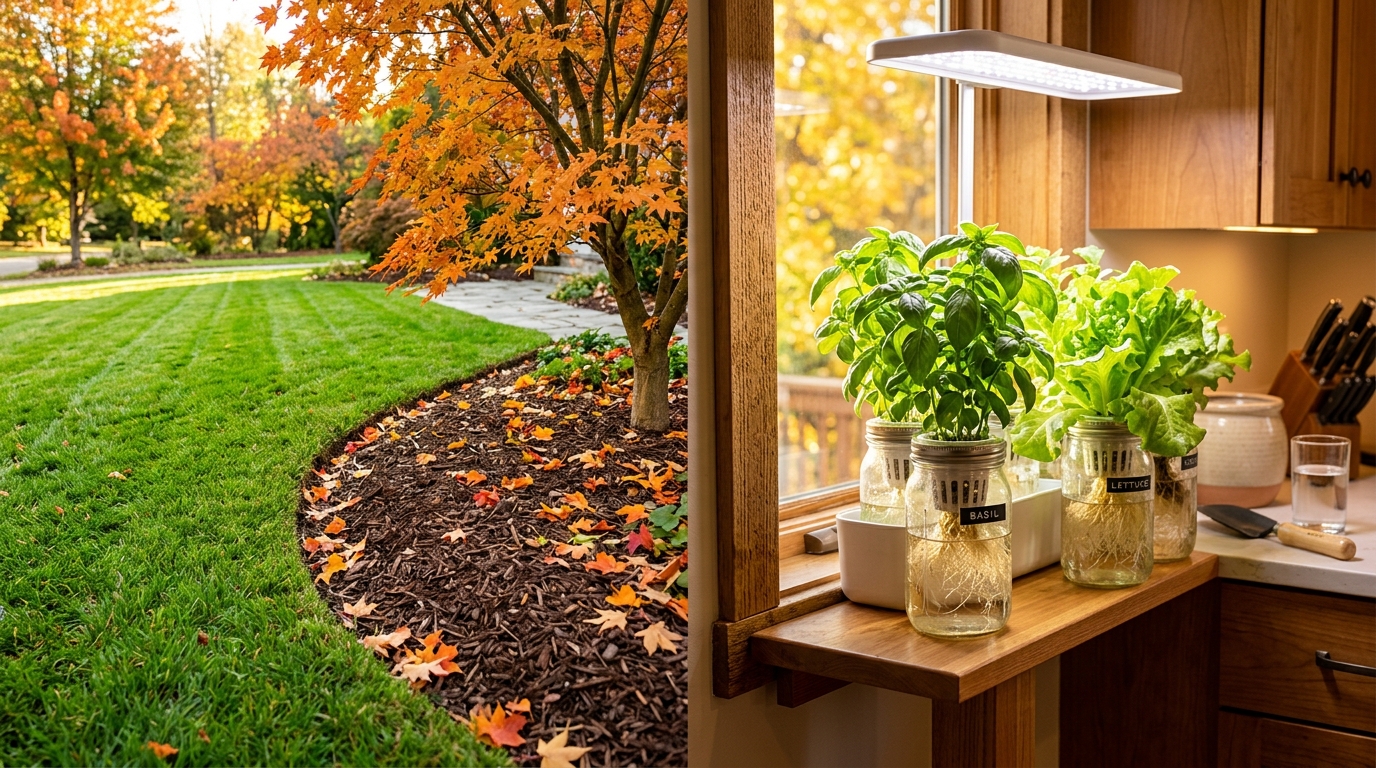
When the outdoor vegetable patch goes dormant in late autumn, you do not have to give up fresh greens. Starting an indoor hydroponic setup allows you to harvest crisp lettuce, fragrant basil, mint, and cilantro on your kitchen counter all winter long without dirt, outdoor pests, or weeding.
Option A: The Passive Kratky Method (Zero Pumps, Zero Noise)
The Kratky method is the easiest, lowest-cost entry point into hydroponic gardening. It requires no water pumps, air stones, or plumbing:
- Container: A wide-mouth 32oz amber or blacked-out glass mason jar, or a 1-gallon food-grade plastic tub. The container must be completely opaque to prevent light from growing green algae in the water.
- Net Cup & Substrate: A 2-inch or 3-inch plastic net cup filled with expanded clay pebbles or rockwool holding a sprouted seedling.
- Nutrient Solution: Fill the jar with water mixed with a balanced, water-soluble hydroponic nutrient formula (such as MasterBlend or General Hydroponics FloraGro) at approximately 600–800 ppm (EC 1.2–1.6) and pH 5.8–6.2.
- How It Works: The plant roots drink the nutrient water. As the water level slowly recedes, the top portion of the roots adapts into specialized air-breathing roots, while the bottom tips drink nutrient solution. By the time the reservoir is empty, a head of loose-leaf lettuce or basil is ready to harvest.
Option B: Deep Water Culture (DWC) for Fast Growing
For faster growth and continuous harvesting of larger herbs and cherry tomatoes, Deep Water Culture utilizes a 5-gallon food-grade bucket and an inexpensive 5-watt aquarium air pump with an air stone. The constant bubbling infuses the water with dissolved oxygen, preventing root rot and accelerating plant growth by up to 30% compared to soil gardening.
Autumn Lawn Care & Indoor Garden Decision Matrix
| Task | Ideal Autumn Timing | Key Action | Expected Benefit |
|---|---|---|---|
| Mulching Grass & Leaves | Weekly while grass grows | Shred dry clippings 1/3 height | Free nitrogen + soil organic matter |
| Mower Blade Refresh | Mid-September | Sharpen to butter-knife bevel or replace | Clean cuts, zero disease access |
| Indoor Hydroponics Start | October / First Frost | Set up Kratky jar + 24W LED grow light | Fresh culinary herbs all winter |
Cons / downsides / risks
Honest cons, downsides and risks before you buy or change your setup:
- Context mismatch: a setup that works in one climate, kitchen, yard, or company stage can fail in yours — treat checklists as starting points, not guarantees.
- Upfront cost vs. maintenance: cheaper gear can raise replacement, energy, or labour costs; premium gear can still under-deliver if sizing is wrong.
- Skill and safety gaps: tools, chemicals, electrical loads, and legal entity choices carry real injury, waste, or compliance risks when rushed.
- Affiliate incentives: partner links exist on this site; a downside of any affiliate model is selection bias — we flag unverified claims instead of inventing metrics.
- Season and regulation drift: products, tariffs, and outdoor seasons change through 2025–2026; re-check labels and local rules on the day you act.
Cons / downsides / risks
Honest cons, downsides and risks before you buy or change your setup:
- Context mismatch: a setup that works in one climate, kitchen, yard, or company stage can fail in yours — treat checklists as starting points, not guarantees.
- Upfront cost vs. maintenance: cheaper gear can raise replacement, energy, or labour costs; premium gear can still under-deliver if sizing is wrong.
- Skill and safety gaps: tools, chemicals, electrical loads, and legal entity choices carry real injury, waste, or compliance risks when rushed.
- Affiliate incentives: partner links exist on this site; a downside of any affiliate model is selection bias — we flag unverified claims instead of inventing metrics.
- Season and regulation drift: products, tariffs, and outdoor seasons change through 2025–2026; re-check labels and local rules on the day you act.
Always disconnect main power sources—remove battery packs or unplug cords—before inspecting mower blades, clearing aeration tines, or handling sharp garden equipment. Keep hydroponic nutrient concentrates stored securely.
Practical guides curated by horticultural practitioners and yard care enthusiasts. Field-tested methods, verifiable steps, and zero automated fluff.